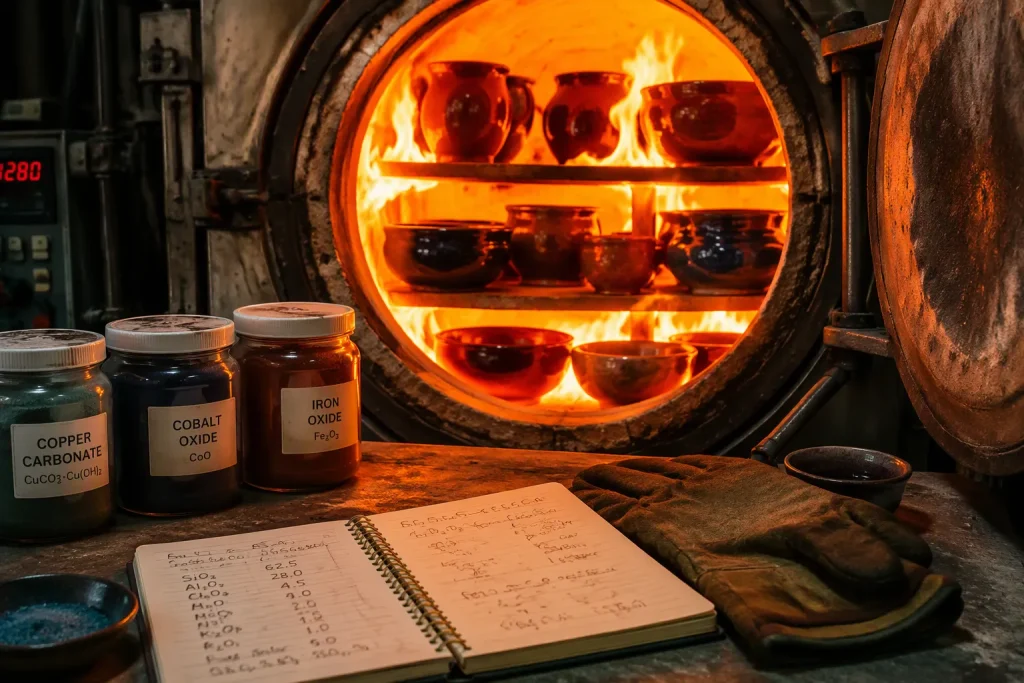
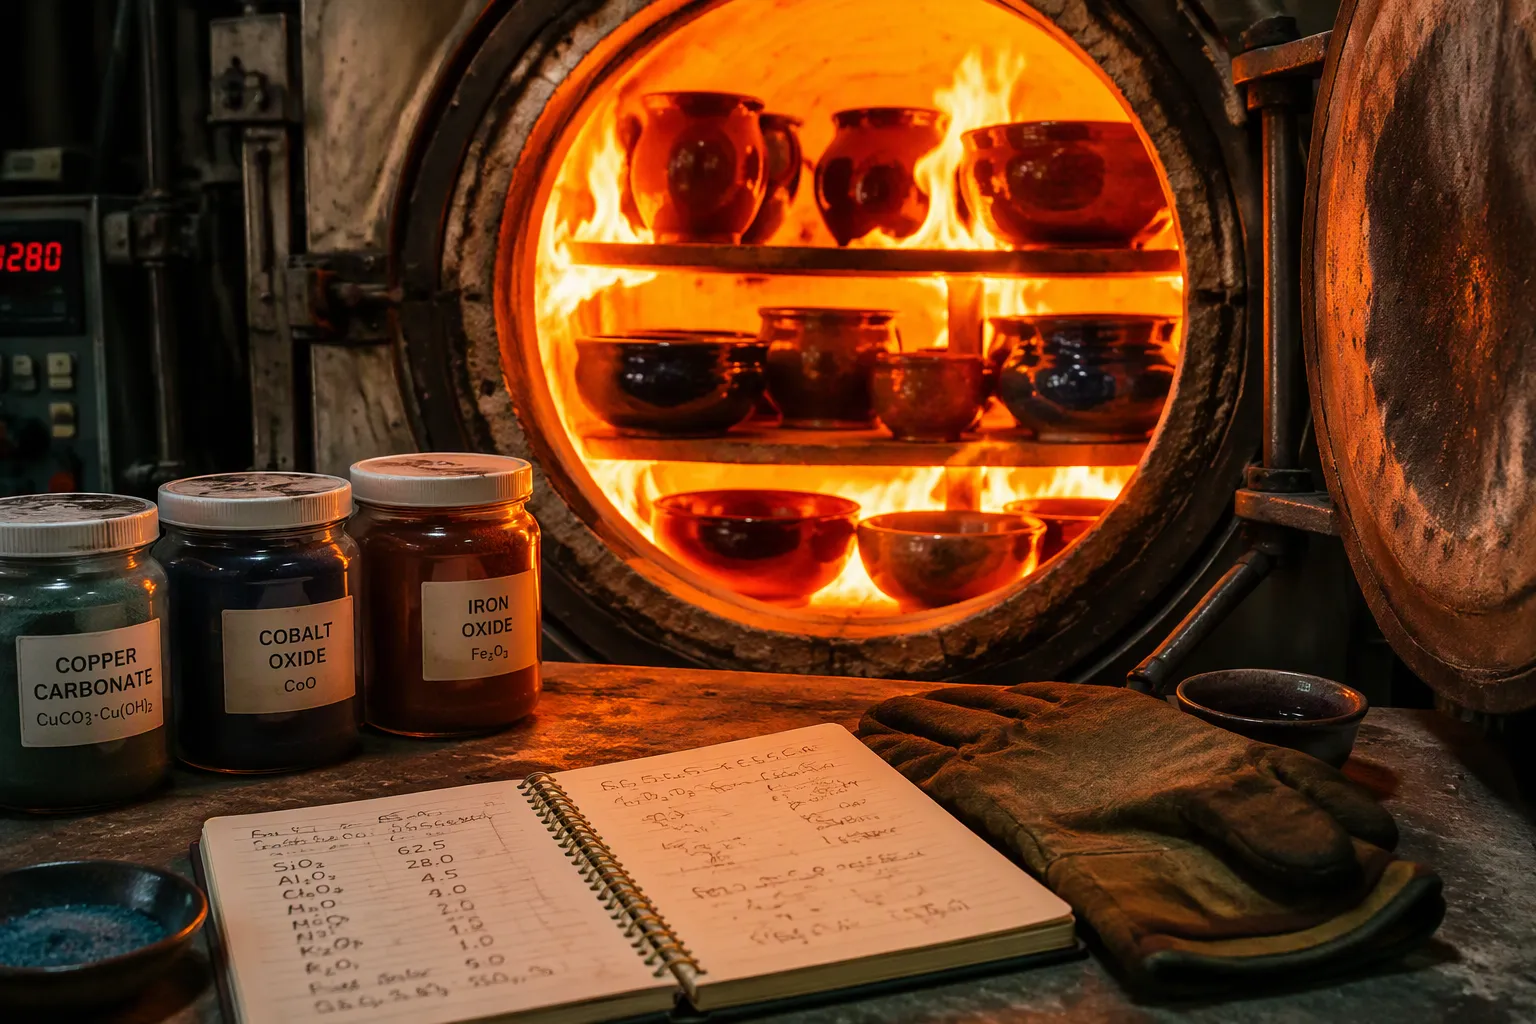
You watch a raw, powdery cup go into the kiln. Hours later, it comes out shiny and colorful. What really happens inside? Firing melts silica into a thin layer of glass. Fluxes lower the melting point. Alumina holds the melt in place. Metal oxides make color. A typical stoneware recipe uses 10–30% silica, about 30% feldspar, and 15–20% kaolin. Clayesouk, a Jingdezhen-based brand, offers this glaze firing explained guide for potters. By the end, you will understand the chemistry of glaze and feel ready to try your own glaze tests.
Key Takeaways
Silica makes the glass. Fluxes lower the melting points. Alumina keeps the glaze from running. Metal oxides add color.
Oxidation firing creates bright colors. Reduction firing creates earthy tones and copper red. How fast the glaze cools changes whether the surface is matte or glossy.
A cone number shows heat work, not just temperature. Heat and time work together. Slow cooling grows crystals for smooth matte surfaces.
Create test tiles in groups. Dip the tiles for one, three, six, or ten seconds. Write down the firing details.
Glaze must fit the clay body. Light pressure stops crazing and shivering. This keeps cups strong.
The Chemistry Behind Ceramic Glazes
Glass Formers, Fluxes, and Stabilizers
Most pottery glazes are built on silica, also called silicon dioxide. After firing, it creates the shiny glass surface you see. Kilns are not hot enough to melt pure silica alone. So earthenware glazes use little silica, while high-fire stoneware glazes may use up to 30%. Fluxes fix this problem. These oxides are network modifiers that make silica melt at lower temperatures. Feldspar acts as a primary high-temperature flux. By itself, it melts only a little. Its true fluxing effect appears when it mixes with other glaze ingredients. Another common flux is whiting, or calcium carbonate. Fluxes help silica melt at temperatures kilns can reach.
Think of a glaze recipe like building a strong wall. Glass formers are the sand. Fluxes are the helpers that lower the heat needed. Stabilizers are the walls that hold the glassy melt in place. Alumina is the main stabilizer. It thickens the molten glaze and slows its flow during firing. This stops the glaze from running off vertical surfaces and helps control the final surface texture. Alumina usually makes up 5–20% of a recipe. Jingdezhen has used these same principles of ceramic glaze chemistry for over 1,700 years, and clayesouk carries on that tradition in handmade cups.
Colorants, Opacifiers, and Glaze Chemistry
Glaze colors come from metal oxides. Cobalt oxide gives strong blue in both oxidation and reduction. Copper oxide makes green or turquoise in oxidation, but it turns metallic red in reduction. Iron oxide gives amber, yellow, or brown in oxidation, and celadon green or black in reduction. Manganese oxide makes browns, chrome oxide makes bright greens, and nickel oxide makes soft browns or muted greens and blues. These coloring oxides react strongly to the firing atmosphere.
Metal Oxide | Oxidation Result | Reduction Result |
|---|---|---|
Cobalt Oxide | Intense blue | Intense blue |
Copper Oxide | Green/turquoise | Metallic red |
Iron Oxide | Amber/yellow/brown | Celadon green/black |
Opacifiers act in another way. Tin oxide and zirconium silicate form tiny crystallites inside the molten glaze. These crystallites scatter light in many directions. The clay body below gets no light, so the glaze looks milky-white. Tin oxide is stronger and works at lower percentages, while zirconium silicate costs less and makes the glaze harder. The light path is short, so opaque glazes need 5–10 times more colorant than translucent ones for the same color strength. This is how ceramic glaze chemistry works.
What Happens During Firing
From Powder to Molten Glass
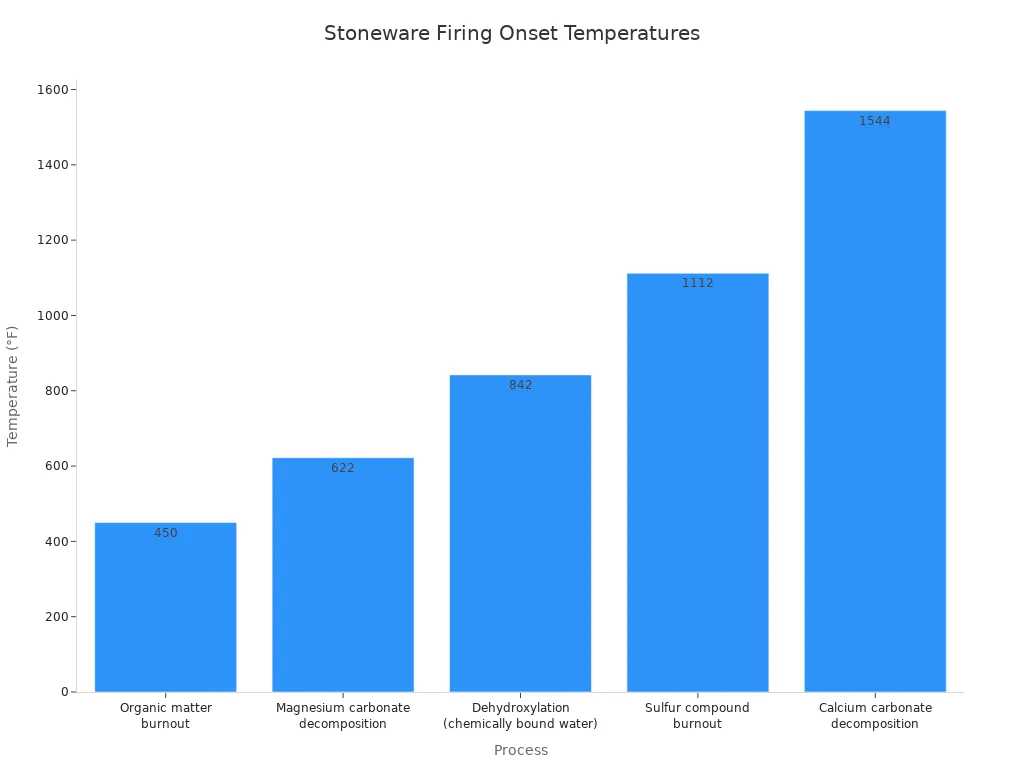
You put a glazed cup into the kiln. The powder on its surface looks dull and dry. Heat changes everything. The chemistry of glaze depends on a series of physical and chemical changes. First, moisture and organics burn off. Carbon burnout can keep going at higher temperatures than most potters think, even up to cone 04 or higher. If glazes start melting before burnout finishes, those gases cause flaws and micro-bubbles. Next, carbonates break down. Magnesium carbonate breaks down above 622°F (350°C). Calcium carbonate breaks down above 1544°F (840°C). Dehydroxylation, the release of chemically bound water, happens between 842°F and 1022°F (450°C to 550°C). Sulfur compounds burn out above 1112°F (600°C).
Process | Temperature Range |
|---|---|
Organic matter burnout | begins ~450°F (232°C) |
Magnesium carbonate decomposition | above 622°F (350°C) |
Calcium carbonate decomposition | above 1544°F (840°C) |
Dehydroxylation (chemically bound water) | 842°–1022°F (450°–550°C) |
Sulfur compound burnout | above 1112°F (600°C) |
After these gases leave, the glaze sinters. Sintering bonds materials well below the melting point of most of them. Edges of clay crystals bond to each other through solid-phase sintering. Feldspar and other flux-bearing ingredients melt to form a glass phase. Clay and silica particles then bond with the liquid glass through liquid-phase sintering. This process makes the work stronger, increases durability, and causes shrinkage. As firing continues, the glaze melts into basic oxide building blocks. Silicon dioxide, the main glass former, joins with fluxes to create a fluid melt. The molten glaze then cools and freezes into glass. This melting and glass formation step defines the final surface.
Bubbles, Defects, and Color Development
Gases must escape before the glaze seals over. Soluble materials can volatilize and cause pitting, pinholing, or cratering when you rush the firing. Pinholes occur in underfired or viscous glazes where gases escape but the surface does not heal. Fluxes such as sodium oxide and borate frits become volatile above 2192°F (1200°C). Zinc oxide can also cause pinholes. If the glaze is viscous, gas bubbles may stay trapped. Blisters sometimes occur in overfired glazes. A drop-and-soak schedule helps. A cone 6 drop-and-soak schedule may go 350°F/hr to 2100°F, 108°F/hr to 2200°F, hold 10 minutes, freefall to 2100°F, hold 30 minutes, then freefall. This hold lets heat soak through the work and gives bubbles time to rise and pop.
Changes in oxygen levels and heatwork alter color. In reduction firing, heavy reduction brings unburned carbon into the developing glaze chemistry. This denies iron compounds oxygen and forces them into reduced forms. Rich iron browns, earth tones, and copper red effects appear. Clayesouk artisans monitor each kiln to protect glaze quality. They watch color development and adjust the atmosphere as needed. Controlled cooling also matters. It keeps the glaze surface smooth and influences crystal growth. Slow cooling through sensitive ranges helps prevent defects. Every firing becomes a lesson in patience and observation.
Temperature and Atmosphere in Glaze Chemistry
Oxidation and Reduction Firing
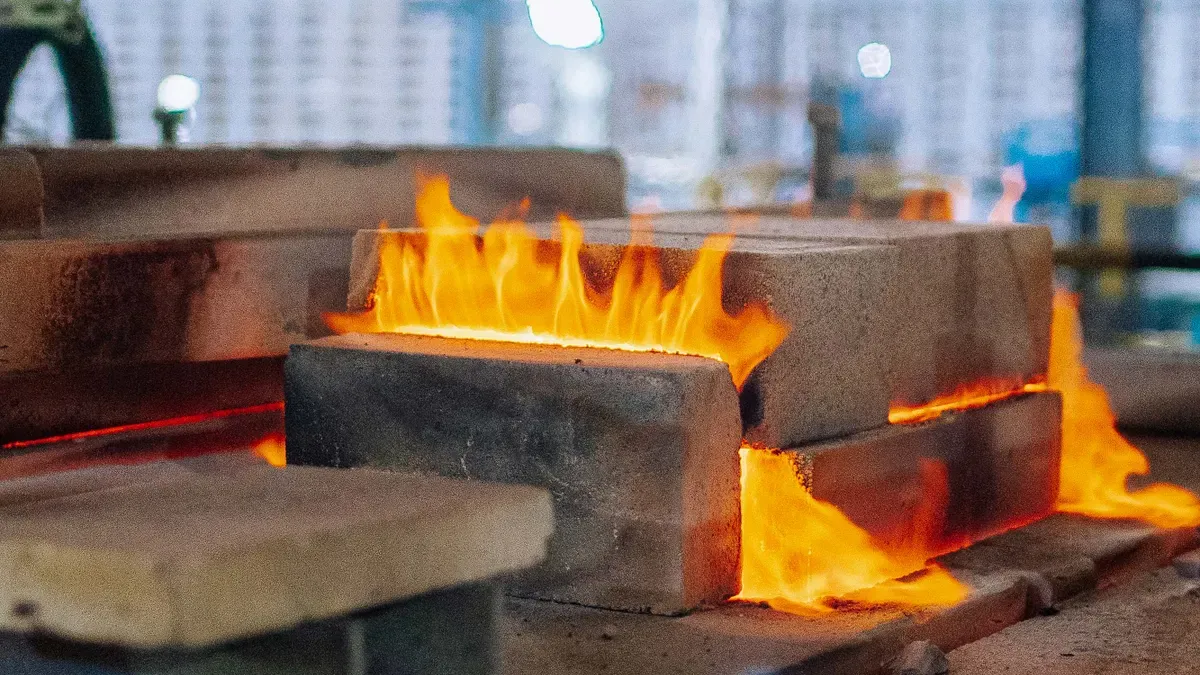
The air inside the kiln strongly changes your finished glaze. The two main paths are oxidation and reduction. In oxidation firing, oxygen moves freely through the kiln. Fuel burns fully into carbon dioxide and water vapor. This oxygen-rich air keeps metal oxides at higher oxidation states. The outcome? Bright, clean, predictable colors. Electric kilns usually fire in oxidation.
Reduction firing is different. You restrict oxygen flow during firing. Incomplete combustion makes carbon monoxide and soot. These chemicals take oxygen from the metal oxides in your glaze. The metals move to lower oxidation states. Colors become muted, earthy, often unpredictable. Copper glaze fires green in oxidation, but deep red in reduction. Iron oxide changes into celadon greens or tenmoku blacks. This is glaze chemistry at its most dramatic moment.
The article sorts low/mid/high fire clay and glaze work by cone range: low fire at Cone 06-04, mid fire at Cone 5-6, and high fire at Cone 10+. It also connects low fire to bright colors and lower durability, mid fire to balanced functional ware, and high fire to very durable, earthy finishes.
Cooling speed also matters. Slow cooling helps microcrystals grow, making buttery matte surfaces. Fast cooling in electric kilns prevents crystal growth. A matte glaze may become glossy or transparent instead. One controlled test used a single cone 6 iron saturate glaze with seven cooling cycles. The results looked like seven different glazes. This shows how much firing conditions affect your final surface.
Cone 6 and Heat Work
A cone number measures heat work, not only temperature. Heat work combines the firing temperature and the time the ware stays at that temperature. This difference matters. You can get the same cone number with different temperature and time mixes. The real temperature depends on your ramp rate.
Glaze category | Cone range | Temperature range |
|---|---|---|
Low-fire | Lower firing temperature | |
Mid-fire | 2124-2264°F (1162-1240°C) | |
High-fire | Cone 8-12 | 2305-2336°F; average 2381°F (1305°C) |
At cone 6, every bisque and glaze profile, slow or fast, reaches exactly 2199°F. The difference is just how quickly you get there. A quick ramp may not give the melted glaze enough time to smooth out and release bubbles. A slow ramp lets the glaze mature completely.
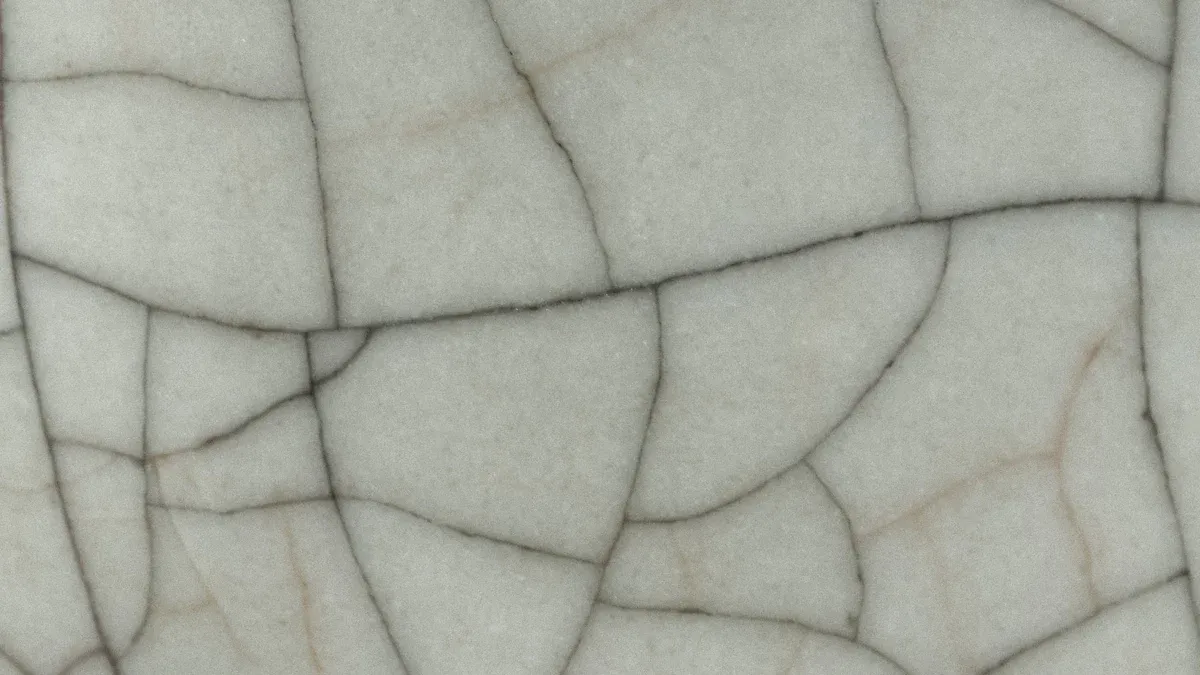
A good glaze fit to your clay body is key for durability. A fired cup has two parts. Clay body and glaze expand and shrink separately. The glaze bonds to the body and matches its size changes. If the glaze has higher thermal expansion than the body, it shrinks more on cooling. This puts the glaze under tension and causes crazing, a web of cracks. A glaze with lower expansion can flake off at rims and edges, known as shivering. Both defects weaken functional ware. A good fit puts the glaze under slight compression. Fired ceramic is strong under compression, weak under tension. This compression helps your cup handle repeated heating and cooling during use.
Glaze Chemistry at Clayesouk
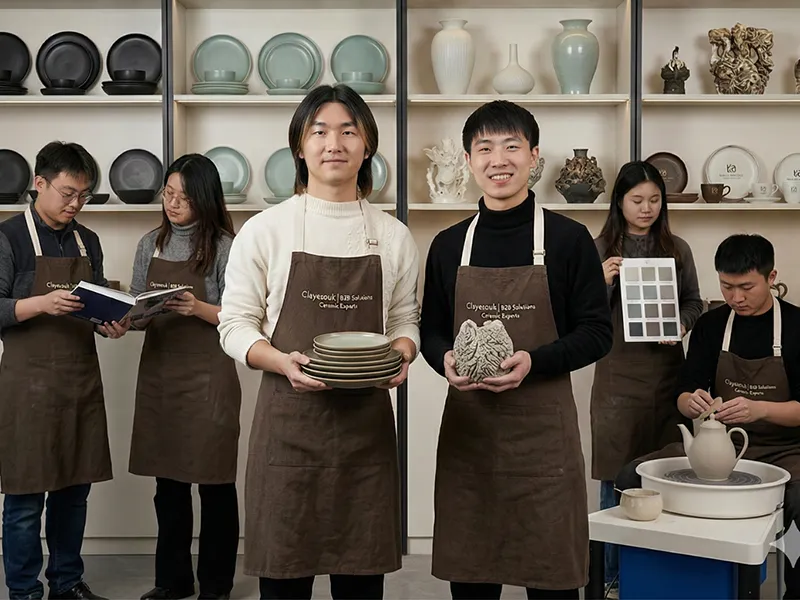
At Clayesouk, glaze chemistry is not just theory. Artisans in Jingdezhen use it in every handmade cup, mug, and tea cup. Their surfaces are both beautiful and dependable. Clayesouk is a national-level base that helps protect ICH through production. Several of its works were chosen as national gifts.
How to Test and Layer Glazes
Before any glaze goes on a production cup, test tiles show what will work. Make tiles in large batches so they are always on hand. Try extruded tiles, thrown rings cut into wedges, or slab-built strips folded into an upside-down T shape. Every clay body you use often should get test tiles, since each body changes the final surface. Dip tiles for different times, such as 1-second, 3-second, 6-second, and 10-second dips, and label each tile. Keep a special notebook. Write down the application method, final kiln temperature, cones used, and firing atmosphere. After firing, take photos of each result so you can repeat successes.
Layering puts your glaze chemistry skills to the test. A dipping base without gum does not hold an upper brushing layer well. It can crawl, crack, or leave bare patches. Put a gummed base under it, like one with 1% CMC gum. One recorded test showed that a gummed glaze with specific gravity 1.6 kept its brush stroke. The same gum content at SG 1.5 ran down. Adding 2% bentonite made the running glaze stay in place.
Artisan Process and Material Choices
For over 1,700 years, Jingdezhen artisans have improved glaze chemistry and handcraft. Each Clayesouk cup is made by a full hand process: chosen porcelain clay, hand-shaping, several bakings, and hand patterning. Páhuā (sgraffito carving) makes contrasting textured designs. Linglong (openwork) carves openings that turn translucent after firing. Carved lines add a relief-like feel with rich layers and light-and-shadow effects. Small marks set each piece apart from mass-produced ware.
You can bring this tradition into your own studio. Keep a glaze journal. Layer glazes on purpose. Clayesouk also offers custom ceramic design services. You can change patterns, glazes, shapes, and sizes. Every firing becomes a lesson in patience and craft.
You now know the full glaze chemistry story. Silica forms the glass. Fluxes control melting. Alumina stabilizes the melt. Metal oxides create color. Temperature and atmosphere are your creative tools, not just technical settings. Fire transforms raw materials into surfaces that did not exist before. Make test tiles. Keep careful notes. Try custom glazes, just as Clayesouk artisans do in Jingdezhen. Every fired glaze holds a chemical story, and now you can read it.
FAQ
Why do pinholes keep showing up in my fired glaze?
Pinholes form when gases escape after the glaze surface seals. A viscous glaze traps those bubbles. Fix this with a drop-and-soak schedule. At cone 6, heat slowly to 2200°F, hold 10 minutes, drop to 2100°F, hold 30 minutes. This lets bubbles rise and pop.
Why does the same glaze look different from one firing to the next?
The kiln atmosphere changes color. Oxidation firing supplies plenty of oxygen. It brings bright, clean colors. Reduction firing limits oxygen. Copper turns metallic red. Iron becomes celadon green. Cooling speed also matters. Slow cooling grows crystals for buttery matte surfaces. Fast cooling makes glossy or transparent surfaces.
What does “cone 6” actually mean?
A cone number measures heat work, not just temperature. Heat work combines temperature with time. A slow ramp and a fast ramp can both reach cone 6. The glaze needs time to smooth out and release bubbles. Cone measures total heat applied, not peak temperature alone.
Why does my glaze craze or shiver?
Glaze fit causes crazing and shivering. The glaze and clay body expand and shrink at different rates. If the glaze shrinks more, tension creates crazing, a web of cracks. If it shrinks less, shivering pops flakes off at rims. A good fit keeps the glaze under slight compression.
How can I test new glazes without wasting cups?
Make test tiles in large batches. Throw rings, cut them into wedges, or fold slab strips into a T shape. Dip each tile for a different time, such as 1, 3, 6, or 10 seconds. Label every tile. Write down your application method, firing temperature, and cones used.