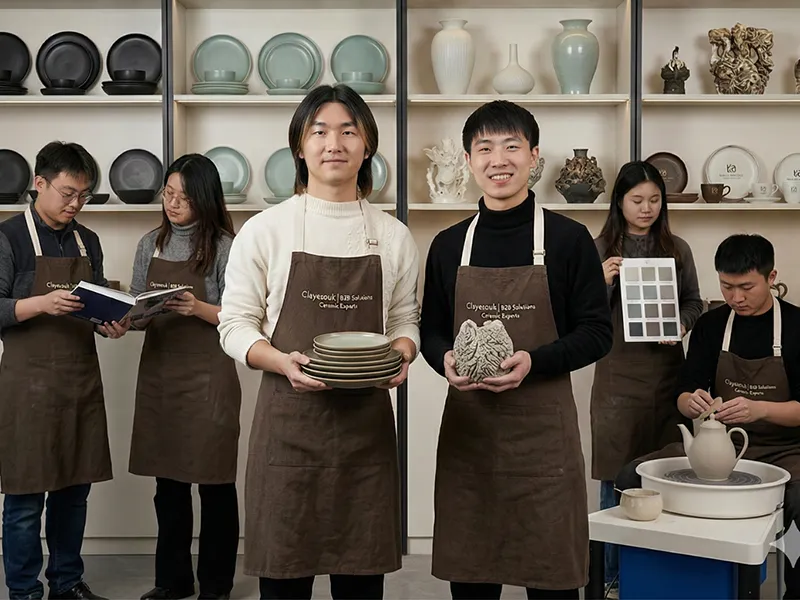
You will think the ceramic prototyping phase is fun and easy. Many people feel nervous at first, but that is okay. Every question you have is normal. The ceramic prototyping phase lets you use your hands to shape ideas. In the ceramic prototyping phase, you can see each step clearly. You will learn how clay changes. The ceramic prototyping phase helps you make your ideas real. You do not need experience to enjoy the ceramic prototyping phase. You only need to be curious and want to try.
Key Takeaways
Begin your ceramic journey by using CAD tools to plan your ideas. This lets you see your project before you touch any clay.
Pick the best materials and glazes for your prototype. The right choice changes how your piece looks, feels, and lasts.
Work with your hands to shape and form your piece. Use old methods and new machines to make special designs.
Talk clearly with the clayesouk team. Share your thoughts and give feedback to make your prototype better and make sure you are happy.
Get ready by learning about ceramic techniques and finding ideas. This helps you show your vision during the prototyping phase.
Ceramic Prototyping Phase Steps
Design With CAD Tools
You begin by making a design. CAD tools help you draw your idea on the computer. These tools let you see your piece before you use clay. At clayesouk, you can pick from different CAD programs:
Fusion 360: This tool is easy to use and lets you change your design.
OnShape: You can use this in your browser, and it has a free version.
Rhino: This program is good for making hard shapes.
SolidWorks: This tool lets you control every part of your design.
CAD tools help you check size and shape. You can show your design to the clayesouk team. They will give you tips and help you make it better. This step helps your prototype look and work how you want.
Material Selection At clayesouk
Picking the right ceramic material is important. Each material changes how your prototype looks and feels. At clayesouk, you can choose from many clays and glazes. Each one is special. Some clays are strong for daily use. Others are smooth for art. The clayesouk team helps you match the material to your design.
You can also pick glazes and surface treatments. Glazes add color and texture. They make your piece shiny or dull. Glazes also make your prototype stronger and easier to clean. The right glaze can protect your piece. You can ask for special colors or finishes.
Forming And Shaping
Now you start working with your hands. Forming and shaping are important steps. At clayesouk, skilled workers use old and new ways. You might see a dripping machine. This machine drips liquid clay onto molds. Changing the mold angle makes new shapes and patterns. You can make lines, dots, and cool designs.
Hand-building and wheel-throwing are also used. These ways let you feel and shape the clay. Machines help make hard shapes fast. The table below shows how rapid prototyping and traditional ways are different:
Aspect | Rapid Prototyping | Traditional Prototyping |
|---|---|---|
Manufacturing Process | Makes samples from 3D models, no molds needed. | Uses molds for making many pieces. |
Speed of Prototyping | Fast, takes hours or days. | Slower, especially when making molds. |
Cost | Cheap for small batches, no mold cost. | Molds cost a lot, but good for big batches. |
Material Selection | Many materials like plastics, metals, and ceramics. | Limited by how hard and costly it is to form. |
Design Flexibility | Easy to test and change designs. | Harder to change, complex designs cost more. |
Applications | Used in cars, planes, medicine, and electronics. | Used for making many products at once. |
You can pick the way that works best for you. The clayesouk team will help you with each step.
Firing And Drying
After shaping, your prototype must dry and then go in a kiln. This step makes the clay hard and strong. Firing and drying must be done carefully. If you go too fast, cracks can happen. The table below shows problems and how to stop them:
Common Issues | Preventive Measures |
|---|---|
Heat slowly, 2-5°C per minute. | |
Improper cooling | Cool evenly, 2-5°C per minute. |
Excessive feed rates | Slow down to 20-50 mm/min when machining. |
The clayesouk team uses their skills to control heat and time. This keeps your prototype safe and strong.
Finishing Touches
Finishing gives your piece its final look and feel. You can pick glazes and surface treatments. Glazes add color, shine, and texture. They also protect your piece and make cleaning easy. The rim of a cup or bowl matters. A good rim is safe to hold and easy to stack. It also looks nice with food or drink.
Here are ways finishing touches help your prototype:
Glazes make the surface smooth or rough.
Rims help you hold and stack pieces.
Special finishes make your piece stand out.
You can work with the clayesouk team to choose the best options.
Prototype Evaluation
The last step is checking your prototype. At clayesouk, the team uses strict quality checks. They look at these things:
Criteria | Description |
|---|---|
Process Capability | Cpk of 1.33 or more is good. Less than 1.0 means problems. |
Defect Rate | Less than 2% is good. Less than 1% is great. |
Quality Control Systems | CMM checks and ISO 9001 help find problems early. |
You help by testing the prototype and sharing your thoughts. Your feedback helps make the design better. The team listens and makes changes if needed. This testing and feedback makes sure you get the best prototype. You can ask for changes in shape, color, or other things. The clayesouk team will work with you until you are happy.
Tip: Always give honest feedback. Every idea helps make the product better.
By following these steps, you can turn your ideas into real ceramic pieces. The ceramic prototyping phase at clayesouk mixes old ways, new tech, and your creativity.
Rapid Prototyping And 3D Printing In Ceramics
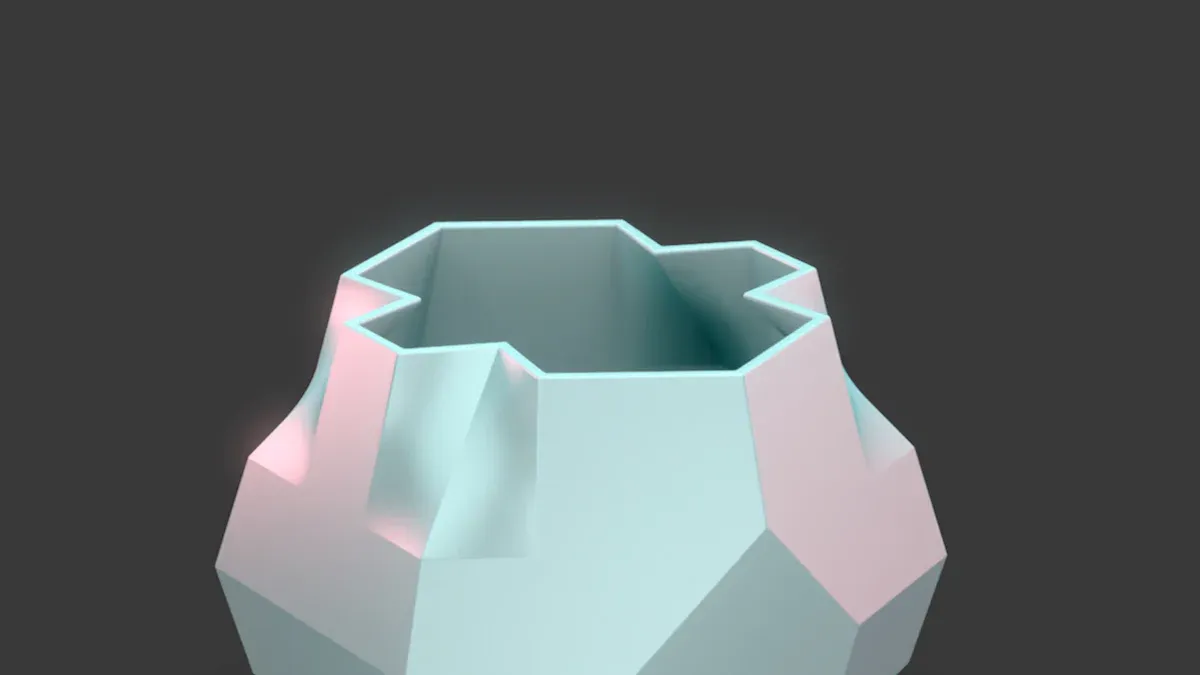
Benefits Of Rapid Prototyping
Rapid prototyping helps you finish ceramic projects faster. You can test ideas quickly and change them without waiting for molds. You do not need special tools, so you save money. You can try many designs to see which one is best. This process lets you make shapes that are hard to do by hand. You can finish your project sooner and make more money.
Advantage | Description |
|---|---|
Rapid prototyping removes the need for special tools. You can make many designs fast without paying extra at the start. | |
Improved Development Times | 3d printing cuts down the time from idea to finished part. This helps you finish projects faster. |
Design Flexibility | You can make complex shapes and features that old ways cannot do. This gives you more design choices. |
Profitability | Saving money, working faster, and having more design options can help you earn more from your projects. |
Ceramic 3D Printing Methods
There are different ceramic 3d printing methods you can use. Each one has good points and some problems. Binder jetting is fast and makes tricky shapes, but the parts break easily before firing. Material extrusion is simple and makes strong pieces, but it cannot make tiny details. Stereolithography gives you small details, but it takes longer to print. Selective laser sintering does not need supports and makes tough parts, but it needs a powder bed. Digital light processing is very accurate and smooth, but you cannot use as many materials.
Method | Advantages | Challenges |
|---|---|---|
Binder Jetting | It is quick and makes hard shapes. | The parts are weak until you fire them. |
Material Extrusion | It is easy to use and makes strong parts. | You cannot make very detailed designs. |
Stereolithography (SLA) | It gives you fine details and high precision. | It takes more time to print. |
Selective Laser Sintering (SLS) | No supports are needed and parts are strong. | You need a powder bed for this method. |
Digital Light Processing (DLP) | It is very accurate and looks smooth. | You have fewer material choices. |
Tip: You can ask the clayesouk team which 3d printing method is best for your project.
How clayesouk Uses Modern Techniques
At clayesouk, they mix old skills with new 3d printing. The team uses 3d printers to make designs that are hard to do by hand. CNC machines help add small details to ceramic pieces. These tools let you make 3d printed ceramics with great accuracy. You still get the look and feel of handmade art. Modern 3d printing helps make more pieces and keeps them high quality. You get both tradition and new technology together.
Note: You can work with clayesouk to mix your ideas with 3d printing and classic skills.
Common Concerns For Beginners
Timeline Expectations
You may wonder how long the ceramic prototyping phase takes. Most projects at clayesouk move step by step. The design and material selection can take a few days. Forming and shaping usually need one or two days. Firing and drying take the most time. This step can last several days because the ceramic must dry slowly. Finishing and evaluation add another day or two. You should expect the whole process to take about one to two weeks. If you want custom features, the timeline may be a bit longer.
Cost Factors
Cost is a common question for beginners. The price of a ceramic prototype depends on size, design, and materials. Simple shapes cost less. Special glazes or hand-painted details add to the price. At clayesouk, you get a clear quote before you start. The team explains each cost so you know what you pay for. You can ask for changes to fit your budget. Making a ceramic prototype is an investment in quality and art.
Communication With The Team
Good communication helps your ceramic project succeed. You can share your ideas and ask questions at every step. The clayesouk team listens to your feedback. They send updates and photos of your ceramic as it moves through each phase. You can use email or chat to stay in touch. If you have a new idea, you can share it right away.
Handling Changes Or Mistakes
Mistakes can happen in any ceramic project. You do not need to worry. The clayesouk team helps you fix problems. If you want to change the design, you can talk to the team. They will guide you on what is possible. You can learn from each step and improve your ceramic piece.
Tip: Always tell the team if you see something you want to change. Early feedback saves time.
Quality Checks At clayesouk
Quality matters in every ceramic prototype. The team checks each piece for cracks, color, and shape. They use special tools to measure and test the ceramic. You can also check the prototype and give your opinion. If you find a problem, the team will help you fix it. Clayesouk offers after-sales support for all ceramic products. You get help with care and maintenance, so your ceramic stays beautiful.
Tips For A Smooth Prototyping Phase
Preparing Your Ideas
You can make your ceramic prototyping phase easier by preparing well. Start by learning about ceramic heritage. Study how traditional artisans work with clay and glazes. This helps you understand each stage and its meaning. Take photos of ceramic pieces that inspire you. Use digital tools or AI to create a style for your decoration ideas. Try sketching your designs or making simple models. These steps help you share your vision with the clayesouk team.
Here is a simple way to prepare:
Research traditional ceramic techniques and their history.
Collect images of ceramics you like and explore digital tools for design.
Sketch your ideas or make small models to show your vision.
Tip: The more you prepare, the easier it is to explain your ideas.
Questions To Ask clayesouk
You should ask questions to get the best results from your project. Good questions help you avoid mistakes and learn from experts. Here are some questions you can ask the clayesouk team:
What are common mistakes beginners make in ceramic design?
Are there any steps I should pay extra attention to during prototyping?
How can I work closely with your artisans or mentors?
You can ask these questions before you start or during the process. The team will guide you and share their knowledge.
Maximizing Your Experience
You can get more from your prototyping phase by using new tools and methods. Try using virtual reality (VR) apps to practice pottery gestures. VR can help you learn how to shape clay before you touch the real thing. You can also use games or challenges to make learning fun. Some people use digital twins to connect with instructors and get feedback in real time. These tools help you learn faster and enjoy the process.
Note: Stay curious and try new ways to learn. Every step helps you grow as a ceramic artist.
You now understand what happens in the ceramic prototyping phase. You might have some problems like higher prices, tough design rules, breakable pieces, or waiting longer for your project. You can beat these problems if you start with easy designs, learn what ceramic materials can and cannot do, and work with skilled makers. Keep asking questions and stay interested. Every step helps you get better. Have fun working with clayesouk and watch your ideas turn into real art. Prototyping gives you a great chance to do well with your ceramic projects.
FAQ
How do I start my first ceramic prototype with clayesouk?
You send your idea or sketch to the clayesouk team. They help you choose materials and design tools. You get support at every step.
Can I change my design after starting the process?
Yes, you can request changes. The team will review your feedback and suggest the best way to adjust your prototype.
What if my ceramic piece breaks during prototyping?
You do not need to worry. The clayesouk team will help you understand what happened and guide you to improve your next piece.
How do I care for my finished ceramic prototype?
Wash your ceramic by hand with mild soap. Avoid sudden temperature changes. Store your piece in a safe place to prevent chips.
Does clayesouk offer custom glazes or patterns?
Yes! You can choose special glazes, colors, or patterns. The artisans will work with you to create a unique look for your piece.